Got rooftop solar already and thinking about adding batteries or switching to microinverters? Smart idea—it can cut peak-hour bills, keep the lights on during outages, and boost your system’s life and value. Here’s a casual step-by-step guide to retrofitting your solar setup right, plus pitfalls to dodge.
Step 1: Check Your Current Setup
Grab these basics about your existing system:
- Install year, array size (kW), panel make/model
- Inverter type (string, optimizer, or micro) and rating
- Monitoring app and access
- Breaker size, main panel capacity, any critical loads subpanel
- Your rate plan (net metering or TOU?) and any warranties/incentives
Why? This decides if you’ll go AC-coupled (usual for retrofits) or DC-coupled (needs a hybrid inverter), and if microinverters fit now or later.
Step 2: Pick Your Battery Setup
Two main options:
AC-Coupled (easiest for most retrofits)
Adds a battery inverter (ESS inverter) on the AC side for charging/discharging.
Pros: Works with almost any PV system, little roof or wiring changes, fast install.
Best if: You want to keep your current microinverters or string inverter.
DC-Coupled (hybrid inverter)
Swap your inverter for a hybrid one that handles PV and battery on the DC side.
Pros: Better efficiency, cleaner wiring, great for big upgrades.
Best if: Your inverter’s old/undersized or you’re overhauling everything.
Tip: Most folks stick with their PV and add AC-coupled batteries—quickest way to get backup and TOU savings.
Step 3: Size Batteries for Your Needs
Match size to goals:
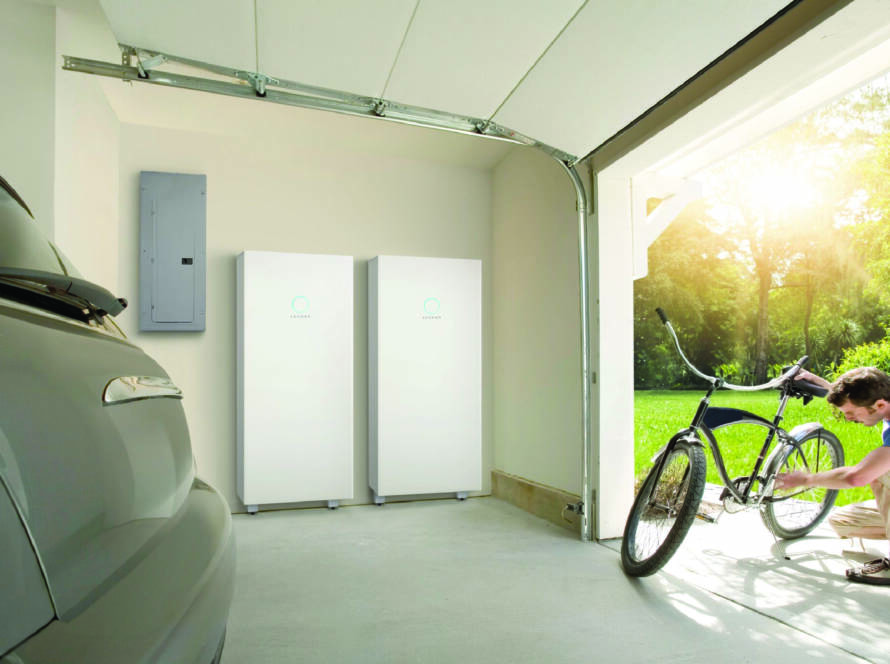
- Basic outage protection (fridge, lights, Wi-Fi, outlets, garage door): 10–15 kWh (2–3 modules)
- Whole-home backup (add HVAC, cooking, multiple fridges, EV charging): 20–40+ kWh (4–8 modules) + stronger inverter
- TOU savings/bill cutting: Enough for 4–6 peak hours; depends on home size/usage
- Future-proof: Go modular for easy expansion later
Step 4: Set Up Critical Loads
For solid backup, use (or add) a critical loads subpanel:
Put essentials on it, keep big draws (oven, big AC) on main if not going whole-home.
Add soft-starts or smart controls for HVAC/pumps to handle surges.
Label it all—you’ll be glad in an outage.
Step 5: Check Compatibility (Common Pitfalls)
Watch out for:
- Backfeed limits: Panel busbar/breaker rules might cap added capacity—check ratings and taps.
- Battery/microinverter match: Most AC-coupled work with micros, but confirm frequency ride-through and islanding.
- Old inverters: If string inverter’s warranty’s up, hybrid swap could save money long-term.
- Monitoring: Older apps might not play nice with new gear—aim for unified view.
- Rapid shutdown: Stay NEC-compliant if tweaking wiring/inverters.
- Generator? Ensure it meshes with battery controls and transfer switch.
Step 6: Permits, Grid Tie, and Incentives
Duracell Power Center installers handle permitting and interconnection, plus grab any incentives:
- Permitting: Load calcs, diagrams, placement rules.
- Interconnection: Utility approvals for export, metering, anti-islanding.
- Incentives: Federal Residential Clean Energy Credit, state rebates, VPP programs that pay for grid support.
Step 7: Setup and Money-Saving Features
After install, turn on these:
- TOU mode: Charge cheap/off-peak from solar, discharge peaks.
- Reserve: Keep some % for outages; tweak seasonally.
- EV sync: Charge when solar’s strong or rates low; pause peaks.
Microinverter Upgrade Perks
If you’ve got old string inverters and adding storage, micros can:
- Boost output on shady/mixed roofs
- Give panel-level monitoring + built-in shutdown
- Keep most production up if one panel fails
Why Folks Pick Duracell Power Center
- Modular LFP batteries: Long-lasting, safer chemistry
- Flexible hybrid or AC-coupled to fit your PV
- Strong ESS inverter for backup + TOU wins
- One app for solar, storage, loads
- Ready for VPP where available